Scenario. You need to do the POS development on the DEV environment after the SQL DB was restored onto the DEV environment. This is the high – level guide containing basic steps you need to perform (some steps might be missing though).
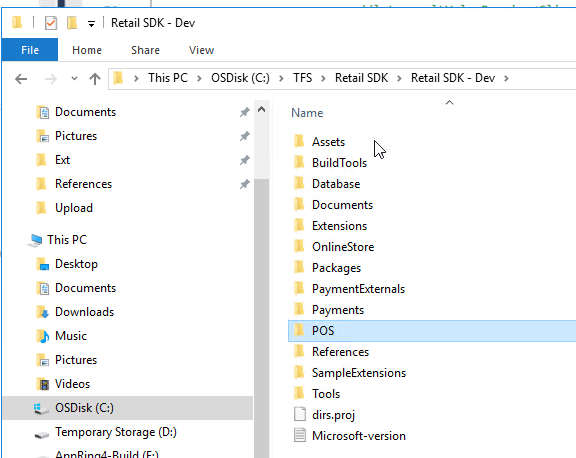
Step 1. Map the VSTS to your local RetailSDK folder. This step is only required if you did not map the VSTS to your local workspace.
Map the VS solution to the local DEV folder (for example C:\TFS\), The folder contains all the POS solutions and folders.
Step 2. Add your server – side extensions to the composition in your configuration file.
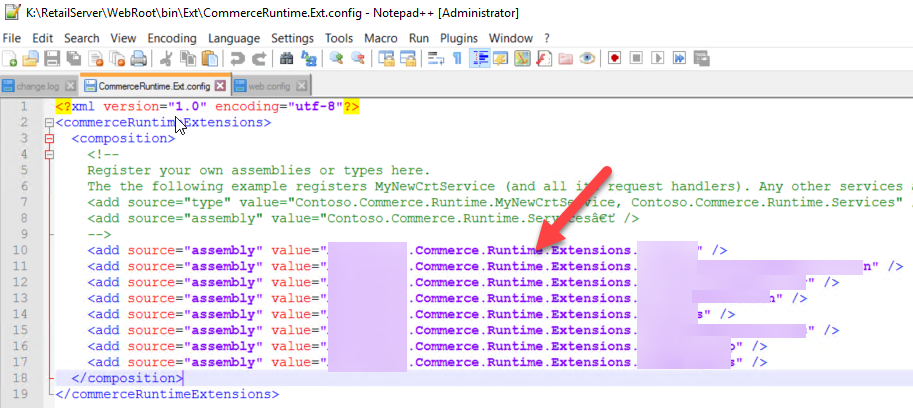
Modify K:\RetailServer\WebRoot\bin\Ext\CommerceRuntime.Ext and add your assemblies there in the <composition> section, for example
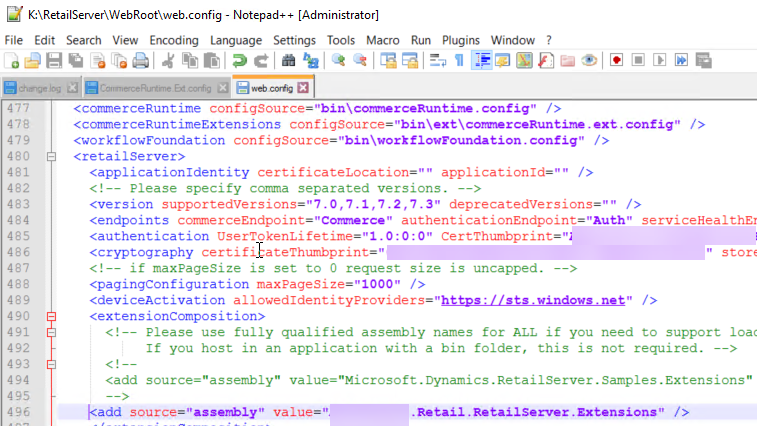
Adjust web.config in K:\RetailServer\WebRoot and add your assembly there in extensionComposition
Step 3. If you copied over the SQL db from another system, you will first need to synchronize the DB and once there is no synchronization errors, you need to change some Retail related configuration.
Go to new (restored) SQL DB and change RetailConnDatabaseProfile. Copy the ConnectionString from the original AX BD. The ‘original’ is the SQL db which was deployed on this machine when the environment was deployed.
Go to new (restored) SQL DB and change RetailChannelProfileProperty. Once you copied the SQL DB from another system, the values will be related to the ‘other’ system, you need to adjust the VALUE for the URLs and these should be your DEV system URLs, for example https://yourdevelopmentenvironmentdevret.cloudax.dynamics.com/Commerce
And
https://yourdevelopmentenvironmentdevpos.cloudax.dynamics.com
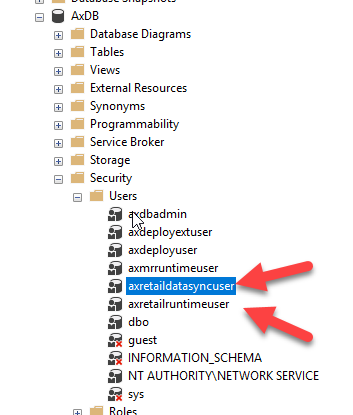
Step 4. Once you coped the SQL DB from another system, it contains the retail users copied from another SQL DB which is wrong. You should delete the users
axretaildatasyncuser, and axretailruntimeuser in the AXDb and then recreate them. The SQL Script below will create the users and was taken from Microsoft docs:
https://docs.microsoft.com/en-us/dynamics365/unified-operations/dev-itpro/database/copy-operations-database
CREATE USER axretaildatasyncuser FROM LOGIN axretaildatasyncuser
EXEC sp_addrolemember ‘DataSyncUsersRole’, ‘axretaildatasyncuser’
CREATE USER axretailruntimeuser FROM LOGIN axretailruntimeuser
EXEC sp_addrolemember ‘UsersRole’, ‘axretailruntimeuser’
EXEC sp_addrolemember ‘ReportUsersRole’, ‘axretailruntimeuser’
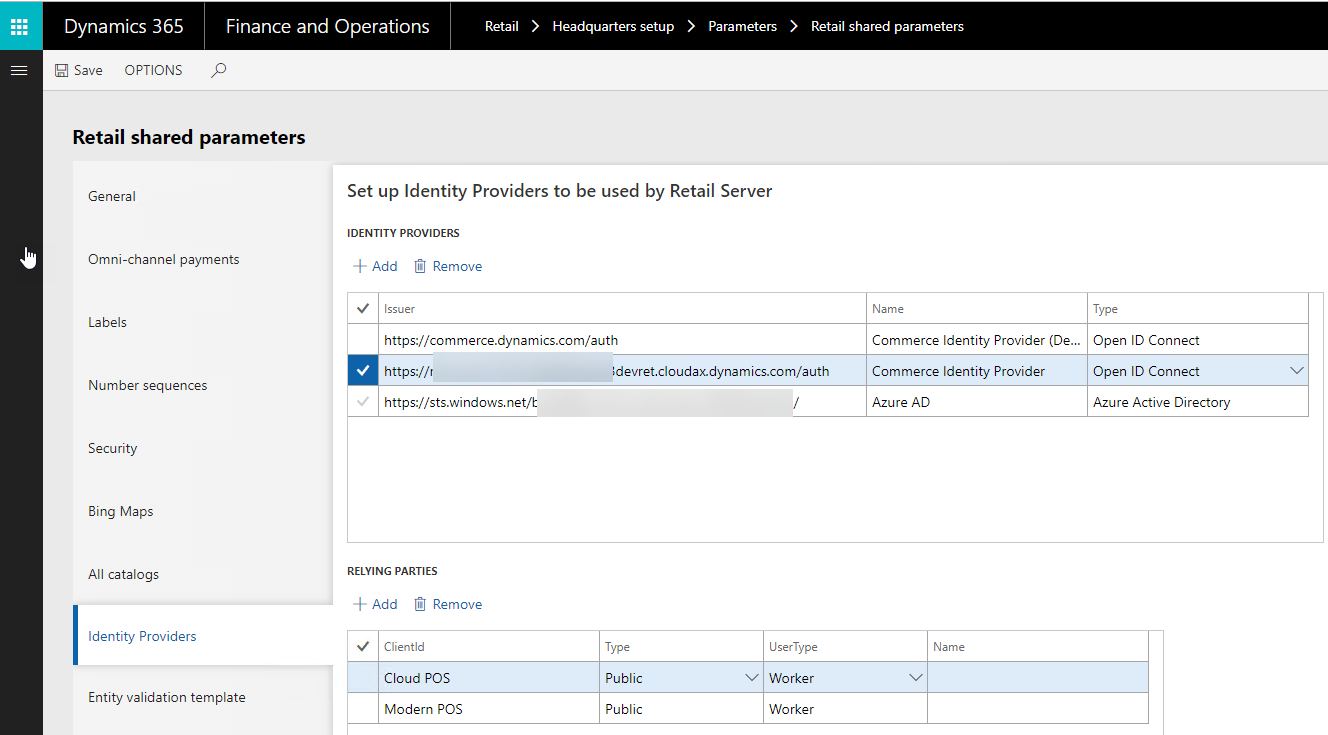
Step 5. Change the identity provider which was also copied from the SQL DB together with the data. Go to Retail shared parameters and change the Identity provider for Commerce identity provider, for example
https://yourdevelopmentenvironmentdevret.cloudax.dynamics.com/auth
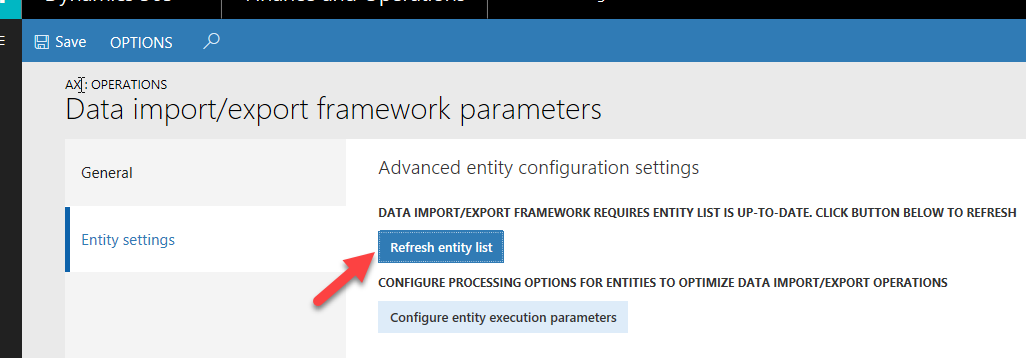
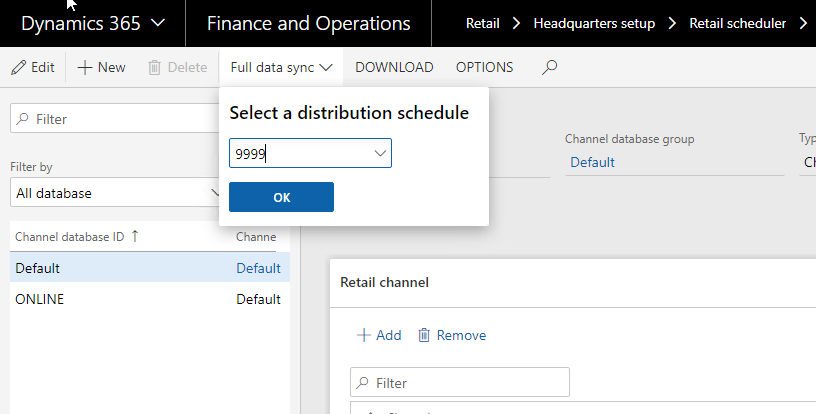
Step 6. Run Full data synchronization
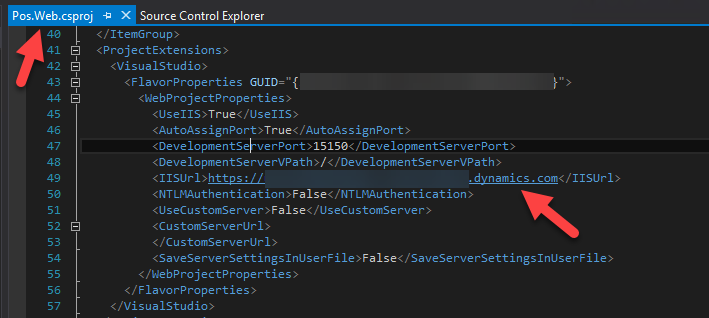
Step 7. Open CloudPos solution and make sure that it can be open in Visual Studio. If Pos.Web project cannot be loaded — edit the project file and change IISUrl to point to your local development IIS, for example https://yourdevelopmentenvironmentpos.cloud.onebox.dynamics.com.
You also might need to change the configuration if IISExpress is used instead of IIS. Change <UseIISExpress> to be true and <UseIIS> to be False
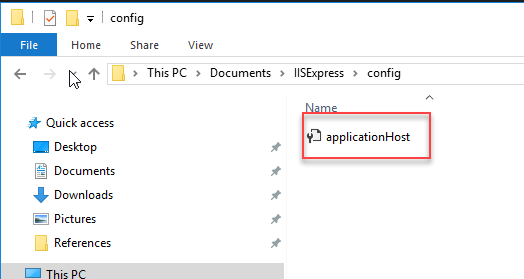
Go to IISExpress configuration and if you only see a single file there (applicationHost), you will need to copy other files there, you need to do so to see your extensions (including debugger)
Open applicationHist file and find the applicationPool for Dynamics365
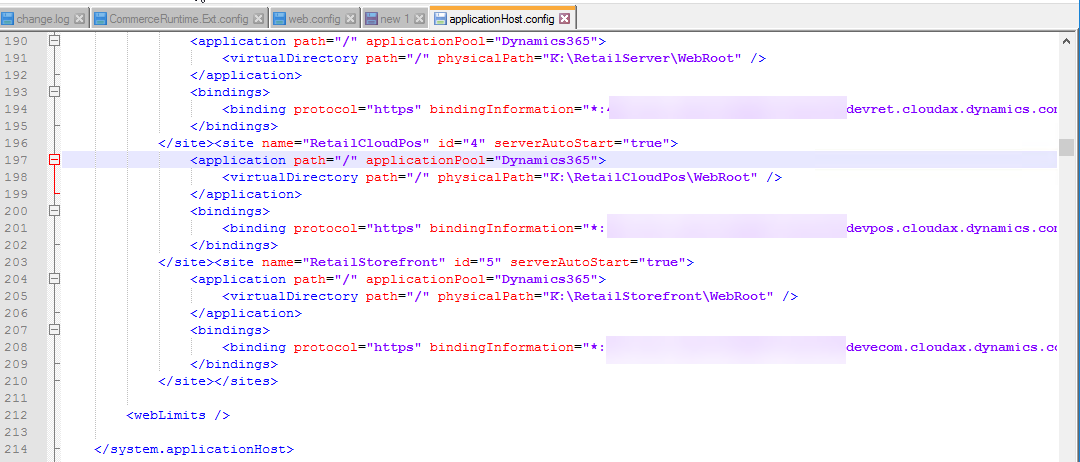
Change the physicalPath to point to IISExpress path

Change to point to IISExpress path
Then reload Pos.Web project and it should be loaded successfully (if it does not –> please check that the parameters and URLs were correctly adjusted).
Build all projects. Copy all your dlls (extensions) into K:\RetailServer\WebRoot\bin\Ext
Make sure you don’t get any errors (missing assemblies) when browsing https://yourdevelopmentenvironmentdevret.cloudax.dynamics.com/
Once this is done, you should be able to open your CPOS URL and activate your device and then start development / debugging your local DEV environment with the new SQL DB.