Scenario: You need to create a new table in AX and synchronize it into Retail database to use its data on Retail side (extensions). The table must be configured in HQ and then data from HQ must be synchronized into Retail channel.
Step 1. Create a new table / UI / Security etc. in AX
Step 2. Create a new upgrade script. This script is required to create a new ext table for Retail channel if it does not exist yet. Go to your TFS folder C:\TFS\Retail SDK – Dev\Database\Upgrade\Custom. Create a new SQL scrip file there. The script below will create a new YOURTABLE with 2 fields (ItemId and CustAccount). Save this SQL script and make sure it’s located in the Custom folder and checked in
IF (SELECT OBJECT_ID(‘[ext].[YOURTABLE]’)) IS NULL
BEGIN
PRINT N’Creating table [ext].[YOURTABLE]’;
CREATE TABLE [ext].[YOURTABLE](
[ITEMID] nvarchar NOT NULL,
[CUSTACCOUNT] nvarchar NOT NULL,
[RECID] BIGINT NOT NULL
CONSTRAINT [PK_YOURTABLE] PRIMARY KEY CLUSTERED
(
[RECID] ASC
)WITH (PAD_INDEX = OFF, STATISTICS_NORECOMPUTE = OFF, IGNORE_DUP_KEY = OFF, ALLOW_ROW_LOCKS = ON, ALLOW_PAGE_LOCKS = ON) ON [PRIMARY]
) ON [PRIMARY]
PRINT N’Finished creating table [ext].[YOURTABLE]’;
END
GO
GRANT SELECT, INSERT, UPDATE, DELETE ON [ext].[YOURTABLE] TO [DeployExtensibilityRole];
GRANT SELECT, INSERT, UPDATE, DELETE ON [ext].[YOURTABLE] TO [UsersRole];
GRANT SELECT, INSERT, UPDATE, DELETE ON [ext].[YOURTABLE] TO [DataSyncUsersRole];
GO
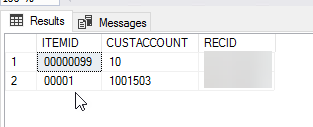
Once this script is run in dev environment, you will see a new table created with no data in SQL management Studio.
Step 3. Add the new custom table into the synchronization job. Edit RetailCDXSeedDataAX7_Extension file in AX and add the new subjob in the file and map all the fields, including RecId
<Subjob Id="YOURTABLE" AxTableName ="YOURTABLE" TargetTableSchema="ext" >
  <ScheduledByJobs>
    <ScheduledByJob>1040</ScheduledByJob>
  </ScheduledByJobs>
  <AxFields>
    <Field Name="ITEMID" />
    <Field Name="CUSTACCOUNT" />
    <Field Name="RECID" />
  </AxFields>
</Subjob>
Step 4. Initialize Retail Scheduler. AX Retail > Retail scheduler > Initialize retail scheduler (delete existing config = no)

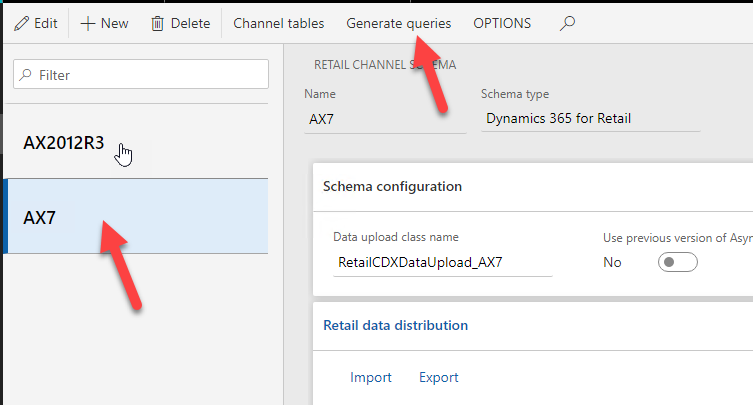
Step 5. Generate queries. AX Retail > Retail scheduler > Retail channel schema (AX7) > Generate queries
Step 6. Run full data sync or sync only the job where you added the new table as the subjob.
Afterwards the data should appear in your channel extension database and is available in extensions